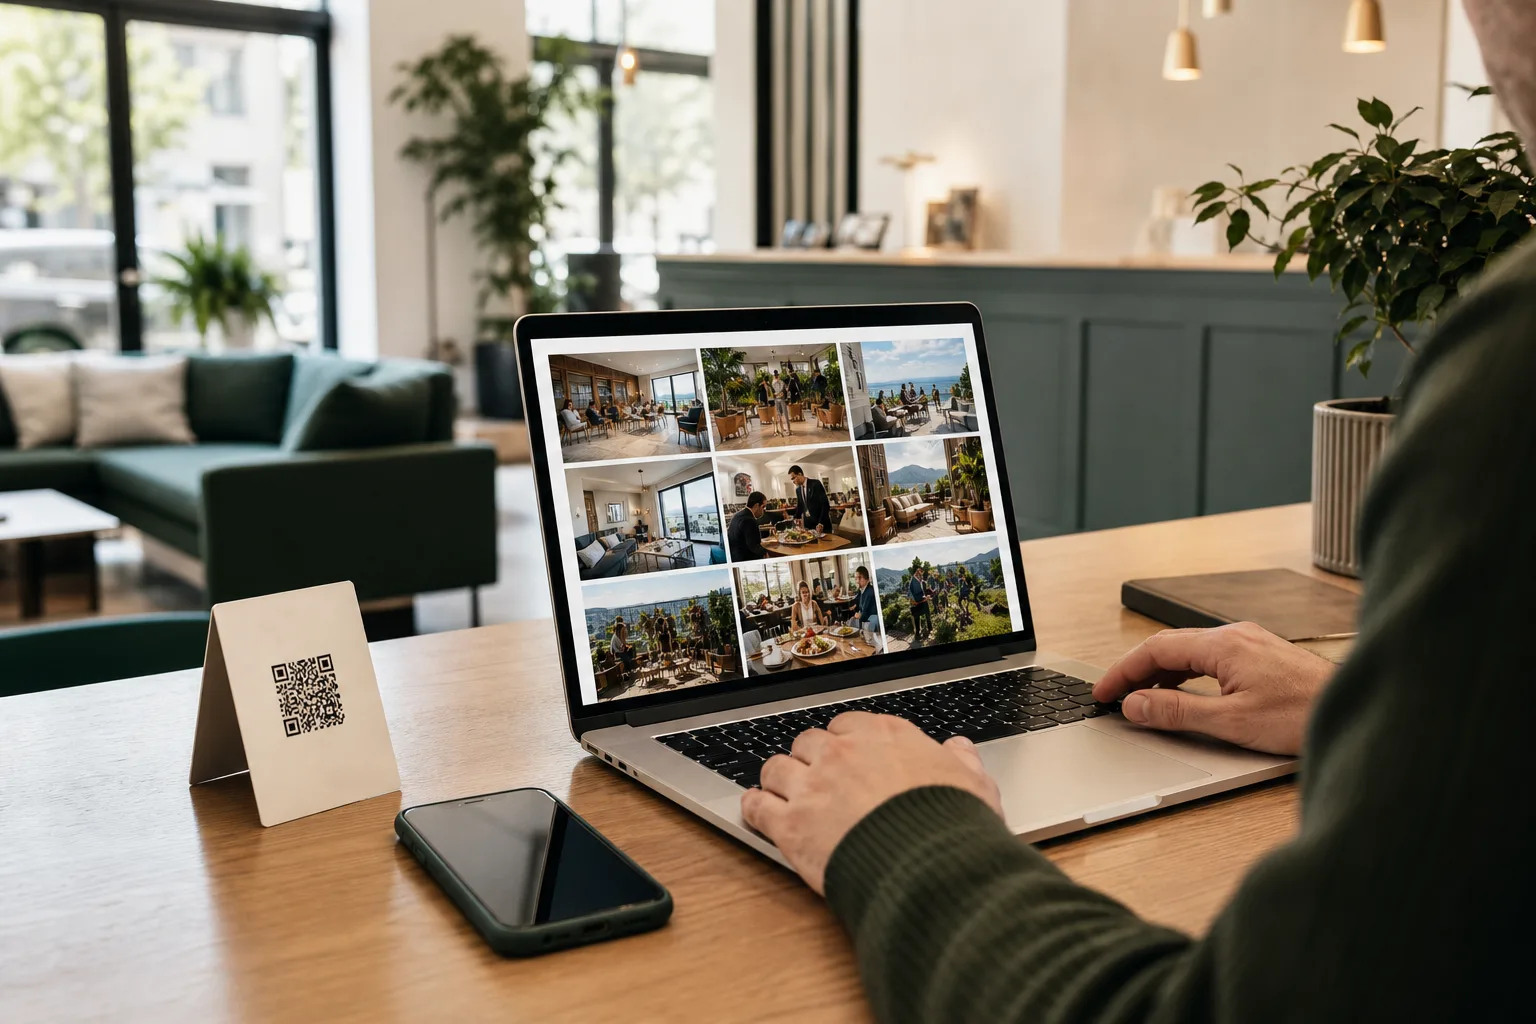
How to Create a Guest Photo Gallery for an Event: An 8-Step Plan
The most useful event photo gallery does not begin with software. It begins with a decision: what should guests experience during the event, and what should the host have when it ends?
A wedding may want a private morning-after reveal. A conference may want approved photos on a live screen. A hotel event, restaurant launch, or activity weekend may want candid angles in one place instead of scattered group chats.
This plan works whether you use Everyguest or another suitable tool. The important parts are a clear purpose, an easy way to join, sensible privacy choices, and one person responsible for the gallery.
1. Choose the gallery's job and reveal moment
Write one sentence that defines success. For example: “Collect candid guest perspectives and reveal them privately the next morning,” or “Show approved photos on a screen during the evening, then give the organiser a clean download.”
Then choose a gallery mode:
- Live gallery: creates energy in the room, but needs active moderation.
- Delayed reveal: keeps photos hidden until a set time and turns the gallery into a shared moment after the event.
- Live screen plus later gallery: useful when only approved highlights should appear during the event, while the fuller collection opens later.
If nobody can review submissions during the event, a delayed reveal is usually the calmer choice.
2. Set simple participation rules
Guests need a short brief, not a page of instructions. Decide:
- who can join;
- whether each person has a photo limit;
- whether guests can use only the event camera or also upload from their phone library;
- when submissions close;
- who can see the gallery;
- how someone can request removal.
A per-person limit can improve variety at a large event. At a smaller wedding or dinner, a generous limit may be better. If “taken at this event” matters, switch off camera-roll uploads. If guests need to add earlier or behind-the-scenes images, leave them on and explain the boundary.
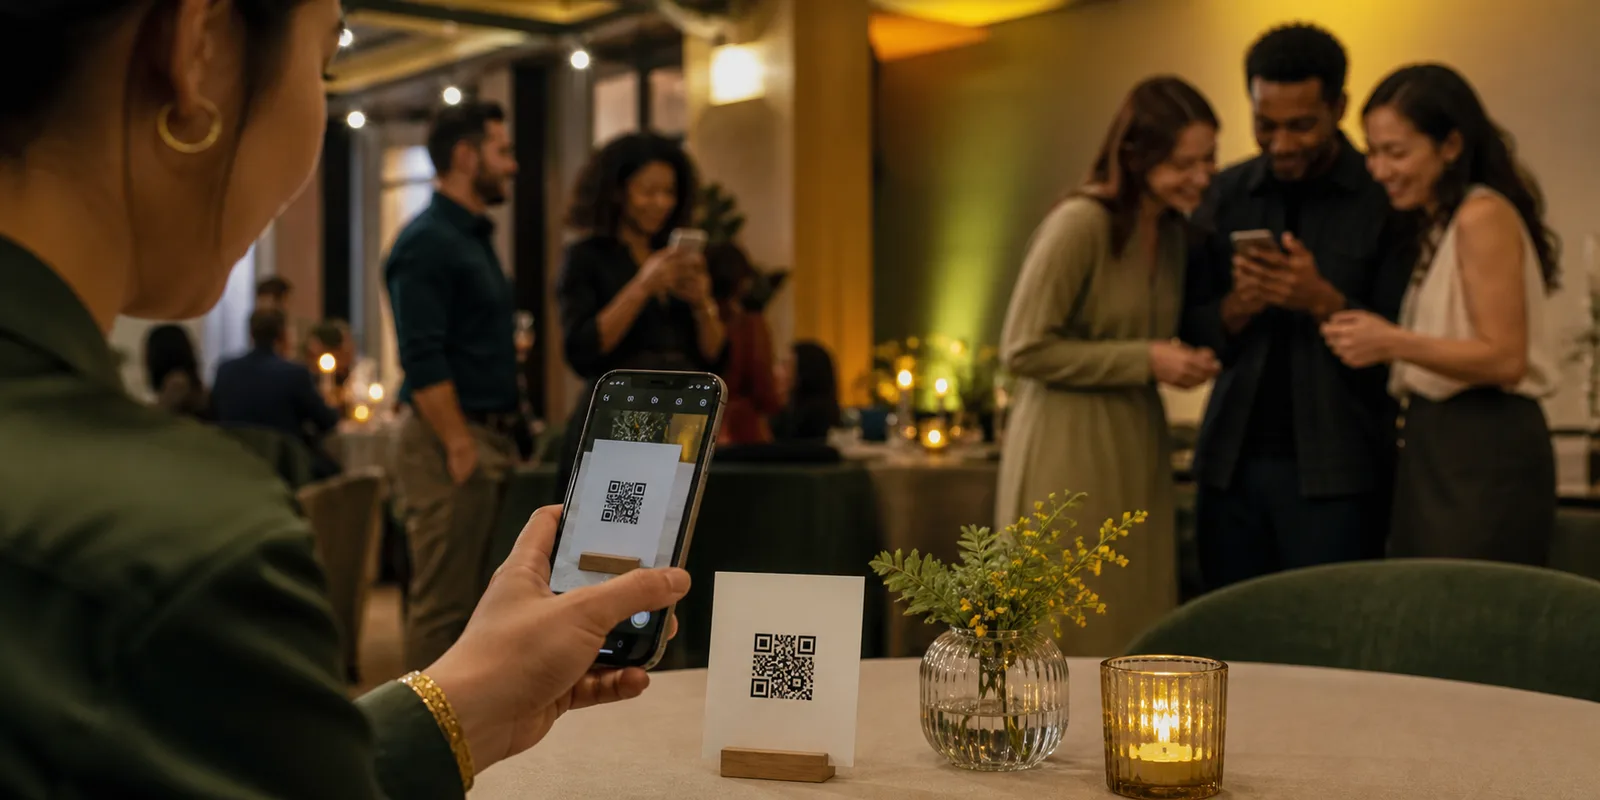
Put the essential rules beside the QR code and repeat them when the host introduces the gallery.
3. Separate event sharing from marketing permission
Joining a private event gallery is not automatically permission to use a person's image in an advertisement, public website, or social post. Keep those choices separate.
Explain who runs the gallery, who can view it, how long it will be kept, and how a guest can ask for removal. Use a separate permission process for selected public photos.
The European Commission's general guidance says consent, when it is the basis being used, should be freely given, informed, specific, expressed by a positive action, and capable of withdrawal. Read its explanation of valid consent and withdrawal and check the rules that apply where you operate.
Copyright is separate. The UK Intellectual Property Office explains that photographs are generally protected and permission is usually needed to share them online. Its digital image guidance is a starting point, not a substitute for local advice.
4. Choose how guests will capture photos
Make one visual decision before the event. Natural suits a conference or daytime gathering; warmer treatment can fit dinner; black and white can unify a mixed collection; flash style can suit a party.
Test it on actual phones in the room. Check bright and dark faces, both orientations, and a moving subject. Confirm the uploaded file matches what the guest saw.
Everyguest offers Natural, Golden, B&W, and Flash options for event cameras. The chosen look is applied to the saved image, including photos selected from the phone library when those uploads are allowed.
5. Place a QR code people can trust and scan
Use the same QR destination everywhere. Add a short printed address below it so guests have a fallback and can recognise the destination before opening it. Test both the code and the address on iPhone and Android, on venue Wi-Fi and mobile data.
Place the code where a photo opportunity and a free hand meet: check-in, table cards, a break area, activity meeting point, or exit. One entrance poster is easy to forget; several modest placements make more sense.
Inspect printed codes during setup. A sticker placed over a public QR can redirect people elsewhere. The UK's National Cyber Security Centre notes that QR codes in public spaces deserve care and advises people to pay attention when a destination asks for excessive information. Its overview of QR-code risks is useful for staff briefings.
6. Give guests specific photo prompts
“Share your photos” produces duplicates. Prompt for missing viewpoints:
- the arrival from a guest's point of view;
- one useful detail people might otherwise miss;
- a reaction from each table or team;
- the quiet moment before the main activity;
- the room changing between afternoon and evening;
- a behind-the-scenes detail that is safe to share;
- one photo that explains the event to someone who was not there.
Match prompts to the setting. A food event can ask for presentation, serving, and the shared table; a tour can ask for the meeting point, equipment, route, and favourite view. Rotate two or three prompts instead of showing a long list.
7. Plan moderation and access before doors open
Name a primary reviewer and a backup. Agree on what stays out of the visible gallery: unsafe behaviour, private documents, children where appropriate permission is missing, distressing moments, obvious duplicates, or photos that undermine an agreed embargo.
For live display, review continuously and keep a short delay before appearance. For delayed reveal, schedule a quiet-time review and another before opening. Approval controls visibility; it does not silently grant marketing rights.
Keep the access link with the invited audience. If the event is sensitive, avoid posting it on public social channels. Also decide who can download originals and when access should end.
8. Reveal, download, and publish selectively
Tell guests exactly when and where the gallery will open. A calendar reminder is helpful for a delayed reveal because it does not rely on everyone remembering a message the next morning.
After the event, keep three sets distinct:
- the private event collection;
- the host's approved archive;
- the smaller set cleared for public use.
Do not turn the private gallery into marketing material. Select only images that serve a purpose and have the required permission. For a public recap, our guide to building a useful guest photo gallery covers selection, performance, captions, and maintenance. The W3C's alt-text decision tree explains when an image needs a brief meaningful description.
Day-of checklist
- Scan every printed QR code from its final position.
- Confirm the event name, dates, time zone, reveal time, and upload limit.
- Test one camera photo and one library upload if library uploads are allowed.
- Confirm the visual preset on the saved file.
- Check the guest explanation, privacy information, and removal contact.
- Sign in as the reviewer and approve one test image.
- Test the live screen or locked reveal page.
- Give the backup reviewer access and a two-minute briefing.
- Remove test photos before guests arrive.
How Everyguest fits this workflow
Everyguest gives each event its own QR camera and gallery. Guests join in their browser with a name; an optional email can support reminders or recovery. The host can choose a live gallery or delayed reveal, set a per-guest photo limit, allow or block camera-roll uploads, choose a consistent visual preset, and keep manual approval separate from reveal timing. While a delayed gallery is locked, guests can add the reveal to their calendar. After it opens, photos can be viewed and downloaded.
Keep an event collection separate from everyday marketing content. Our guide to rewarding guest photos without incentivising reviews explains why content rewards should never be tied to a positive review.
Frequently asked questions
Do guests need to install an app?
Not with Everyguest. They scan the event QR code and join through their phone browser.
Is a live gallery or delayed reveal better?
Use live when the display is part of the event and someone can actively review photos. Use delayed when privacy, surprise, or limited staffing matters more. Some events use approved live highlights and a fuller later reveal.
Should camera-roll uploads be allowed?
Allow them when guests need to add photos taken elsewhere in the event timeline. Block them when the collection should contain only moments captured through the event camera. State the rule clearly either way.
Can event photos be reused on social media?
Do not assume so. The photographer's rights, people shown, guest explanation, and local rules may matter. Ask for permission suited to public use and record the decision.
If you want to try this workflow, see Everyguest for events and choose a setup that matches your guest count, reveal plan, and moderation capacity. The best gallery is not the one with the most photos; it is the one guests understand and the host can manage responsibly.